Stable-Diffusion simply explained, or how we can create images from text
A simple but accurate explanation of how stable diffusion work for generating images from a text. Spoiler alert, it starts with the end…
As it is often the case in computer science, sometimes to achieve something we must first learn to do the opposite.
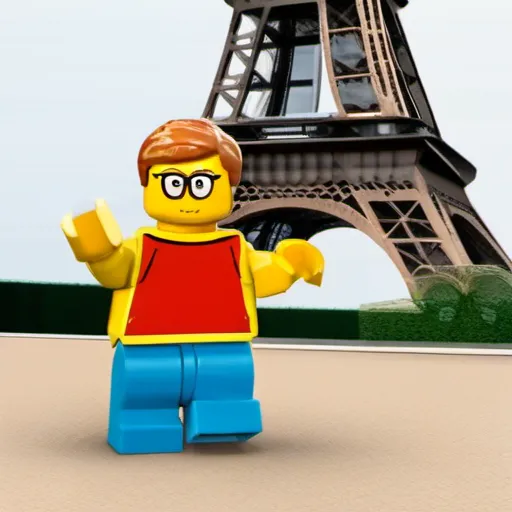
Image generatedwith stable diffusionby the author
Using the end approach, using image-to-text
The first step towards generating an image from text was to create a text describing the image. (Or at least to extract a representation of the content of the image).
We need to be able to know what there is in a picture
Yes, to do text-to-image, we first need to be able to do image-to-text!
To illustrate what image-to-text is, I will use the great Hugging Face platform and the following page in particular: https://huggingface.co/Salesforce/blip-image-captioning-large
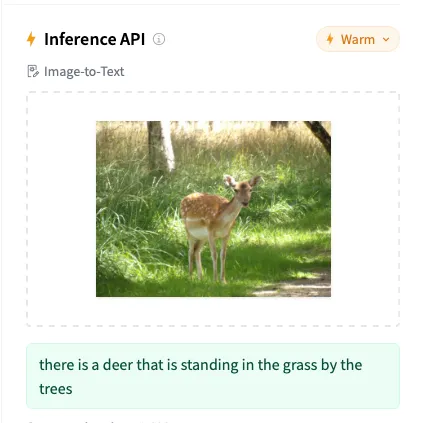
Screenshot from the hugging face website, deer picture by the Author.
From an image, it will provide you with a description. But this is the exact opposite of what this article is about, so why mentioning it? The answer in the next part.
We need to be able to evaluate what we are generating
Why is being able to extract what is in a picture important? Because to check whether or not the image we are generating corresponds to what we want to have, we need to be able to evaluate what represents the image and to compare with what was expected.
As a matter of fact, we don’t need to get as far as having a textual description of the image for text-2-image generation, we only need to have at one side the original prompt/description and at the other side the representation of the content of the image, both sharing the same “format” in order to be able to compare them. That’s why what is often used are CLIP like models (Contrastive Language-Image Pre-training), those kind of models are used to determine how close an image and a caption are. Under the hood, both the image and the caption are converted as embeddings, a representation as a list of floating numbers, and the distance of those embeddings is computed. The shortest the distance is, the more similar the image and the caption are.
Now the generation part
For generating the real image, we usually start from a “noise” image.
From this image small modifications will be applied iteratively, in order for the image to get closer to what was asked for. The can only be done because we can evaluate the distance between the current image and the target prompt.
Please not that this “noise” image has typically a lower resolution than what we will get at the end. At the end of process, an upscaling occurs to increase the image resolution to the expected size. This allows to use less computation resources.
To go further…
The negative prompt!
If we can ask for what we want to appear in the image, we can also ask for what we DON’T want to have. That’s what the negative prompt is about. During the image generation the algorithm will try to reduce the distance with the “positive” prompt and increase the distance to the “negative” prompt.
LoRA — “Low-Rank Adaptation”
Simply explained, LoRA is a way of increasing the capacities of an existing model by adding an extra part without changing the original one.
Those additions will bring additional dimensions to the embedding for both the prompt and the image feature extraction. We can use multiple LoRA adaptations at the same time.
LoRA adaptation is possible for cases using embeddings, there are not usable for single class-classification where we want to have only one “dimension” to have a strong value, and so we need to have all “dimensions” trained together.
The important features of using one or multiple LoRA:
- it is faster to train only those additional parts than retraining a full model to add capacities to it,
- you can enable/disable their usage as your needs go!
That’s all folks!
Feel free to comment or contact me if you had like!